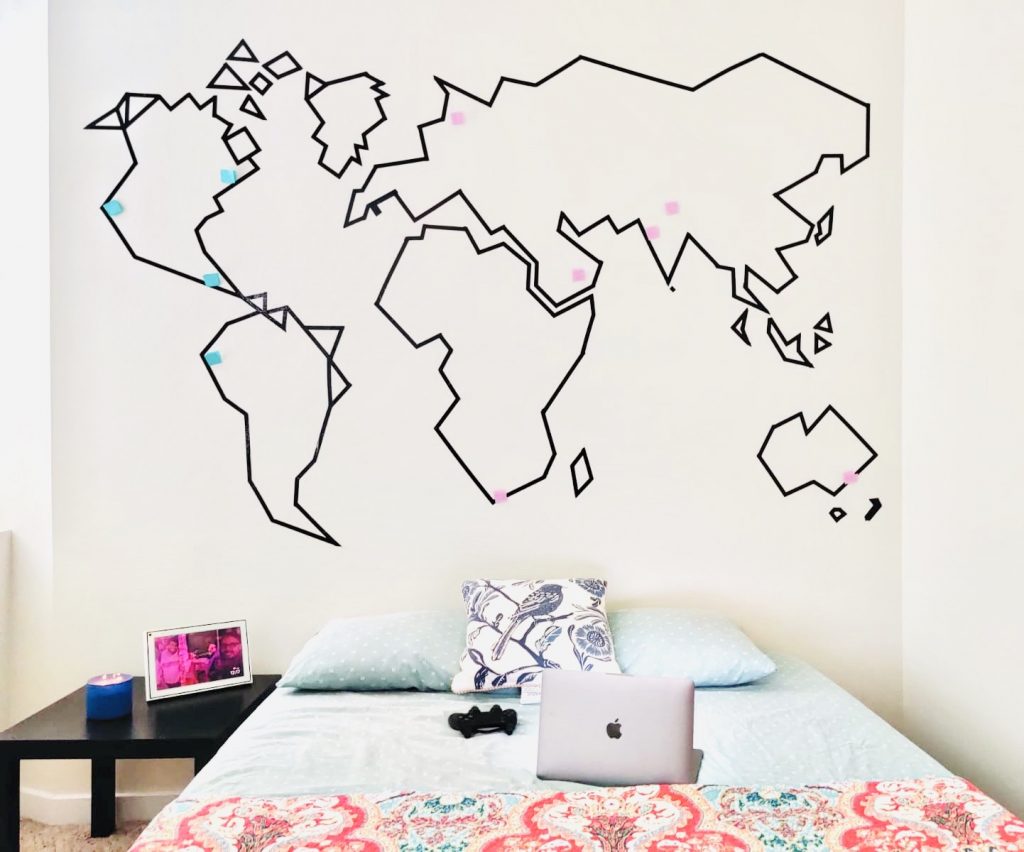
For all the travelers out there, this DIY World Map Wall Art project is for you.
Many of us love traveling, I do too. I mean who doesn’t right? lol. One of my friend who is an avid traveler happened to share with me his passion for traveling. That’s when I stumbled upon this idea of making a World Map on his wall where he could pin his travel pictures. He was absolutely in love with my idea!
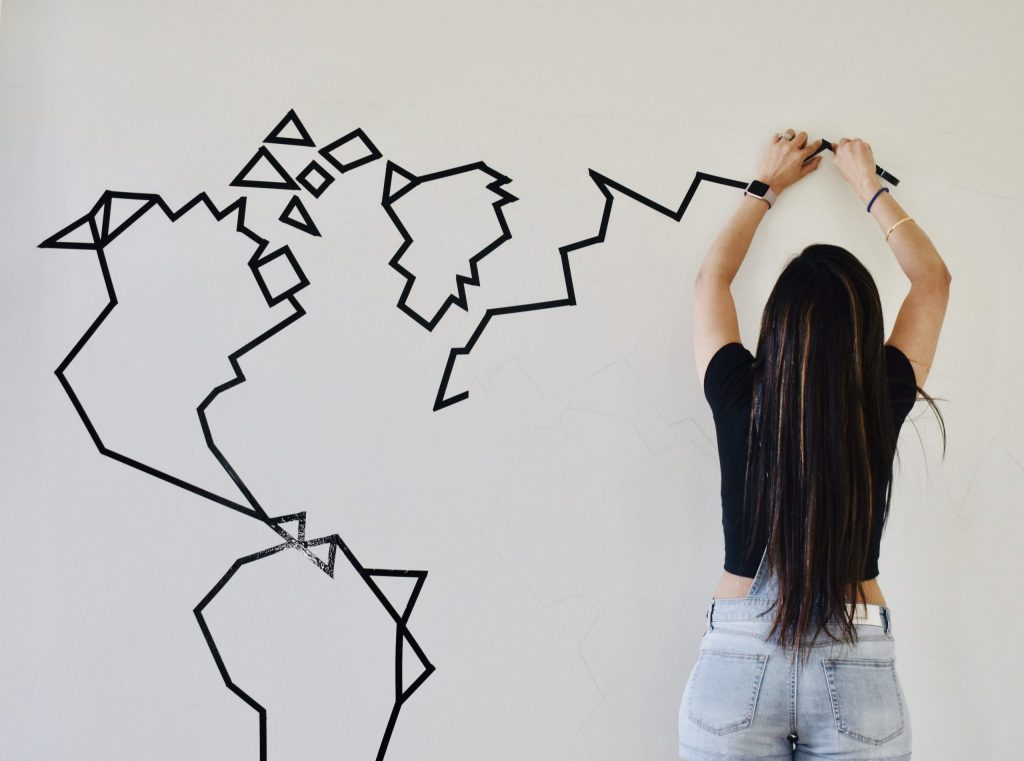
This DIY World Map project was made using masking tape only. It is easy to recreate and is a cheap (under $10) DIY project. Go checkout the instructions below!
What you need?
You can click the items above to purchase them online.
How to make this?
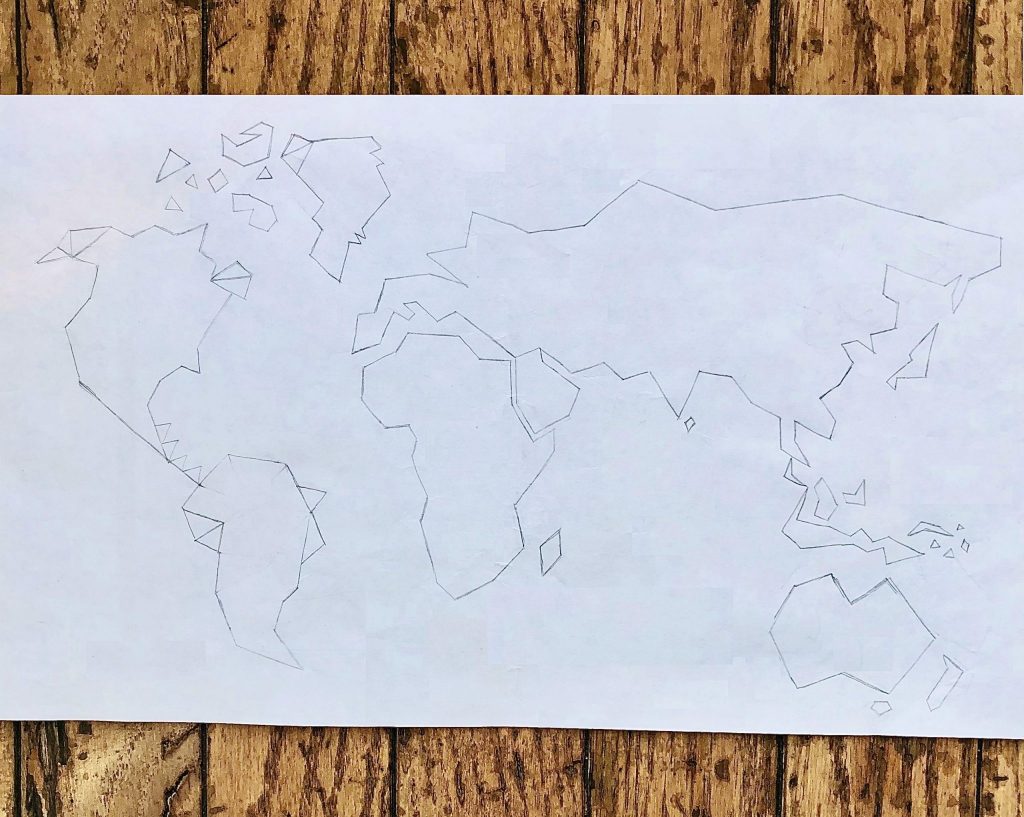
Step 1: Create a stencil / drawing on a Paper
Draw your world map on paper first. It’s easier to rectify your error on paper rather than on the wall.
Step 2: Transfer your design to the wall
Take wall measurements to understand the ratio of your drawing to the wall size. Mark 3 vertical points (Left, Center and Right) and 3 horizontal points (Top, Middle and Bottom) as reference points to start your drawing. You can add more points on the wall based on your measurements to get that perfect ratio.
Use pencil to draw your world map on the wall. Make sure to use light hand as dark pencil marks are a little difficult to erase.

Step 3: Start from one corner
Start sticking tape from one corner of your map. It becomes easier to move and stick the tape along the map design when you start from the corner.
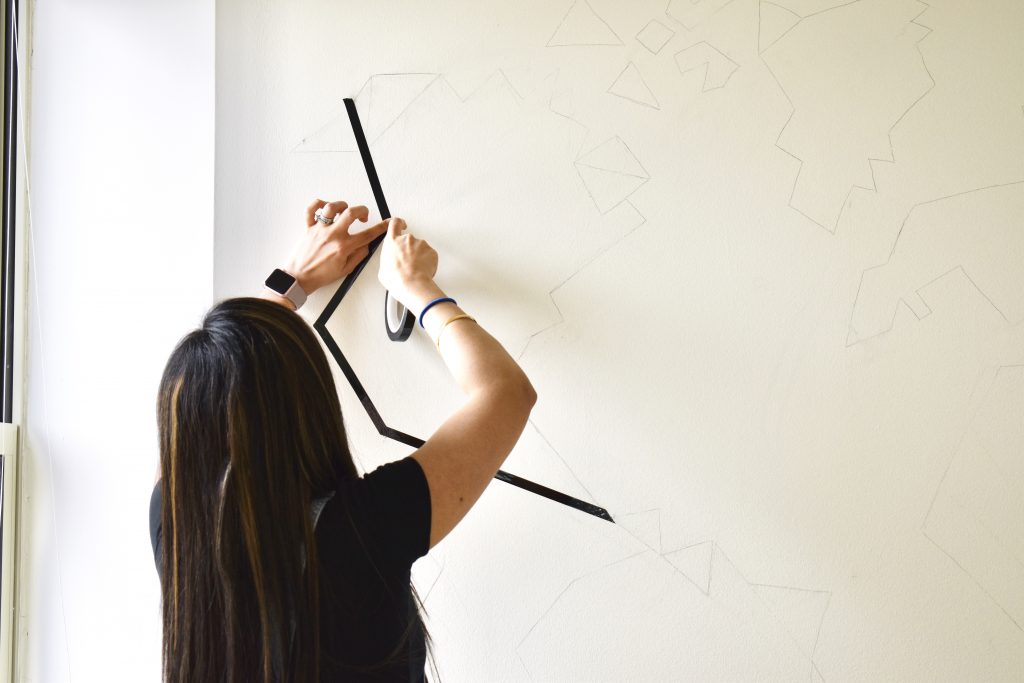
Step 4: Cut the edges
After you start sticking tape on the wall, leave an inch of tape at the edges. It makes it easier to cut and gives your map the right shape.
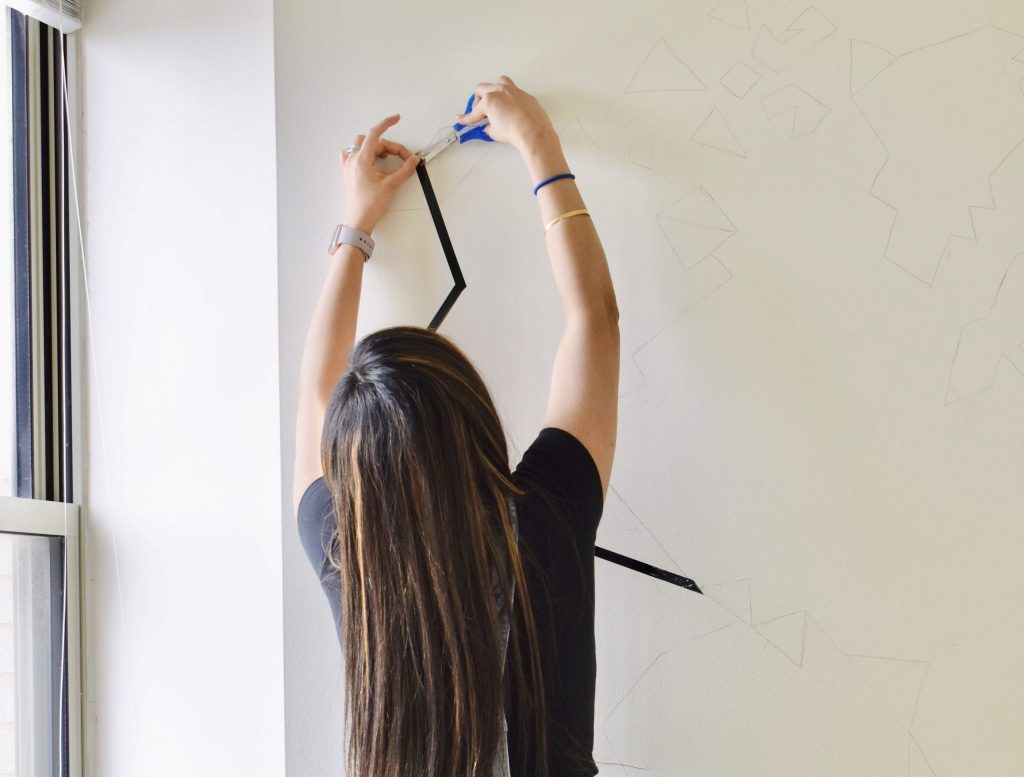
Step 5: Run your fingers over the tape
As you continue sticking tape on the wall, run your fingers over the tape. This ensures the tape sticks well and does not come off.
Step 6: Clean up!
Once your world map is complete, clean the visible pencil lines using an eraser.

Voila! your world map is now ready 🗺️


Amazing! Such a beautiful and easy wall art. I’ll replicate this on my wall. Thank you!
Share some pictures 🙂
Good luck!
Awesome! This is perfect for my boys room! Thanks for explaining so well.
Great! Would love to see some pictures <3