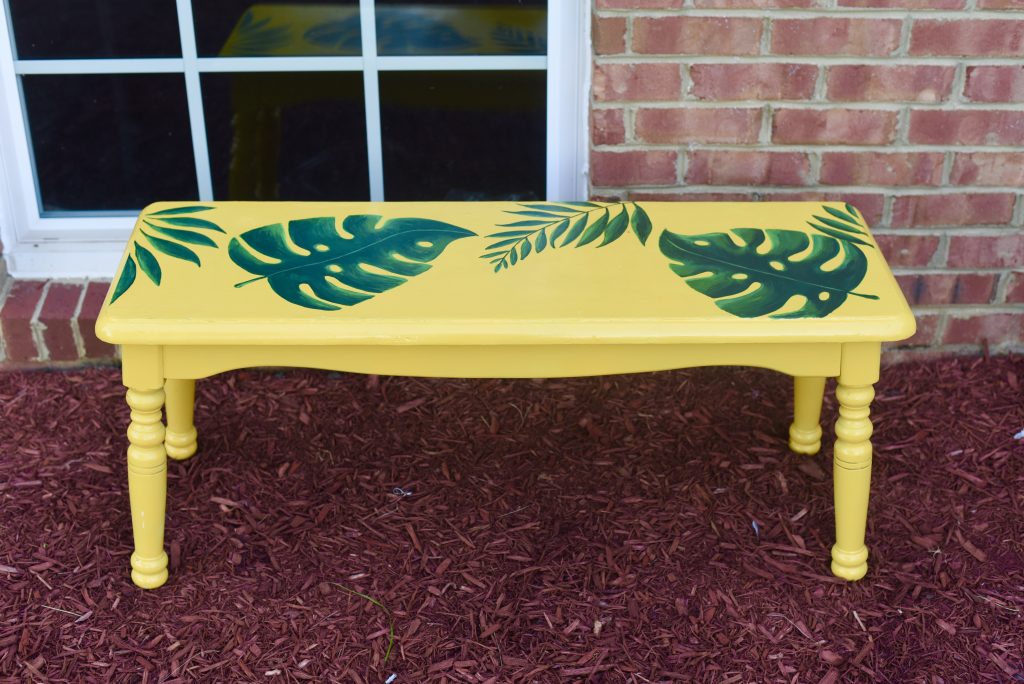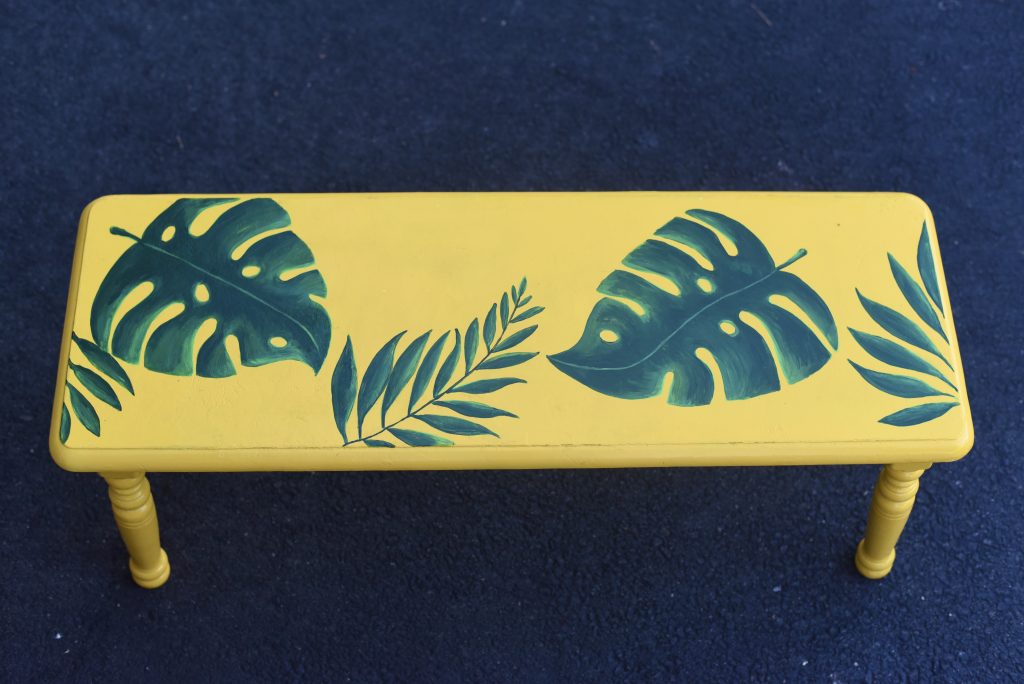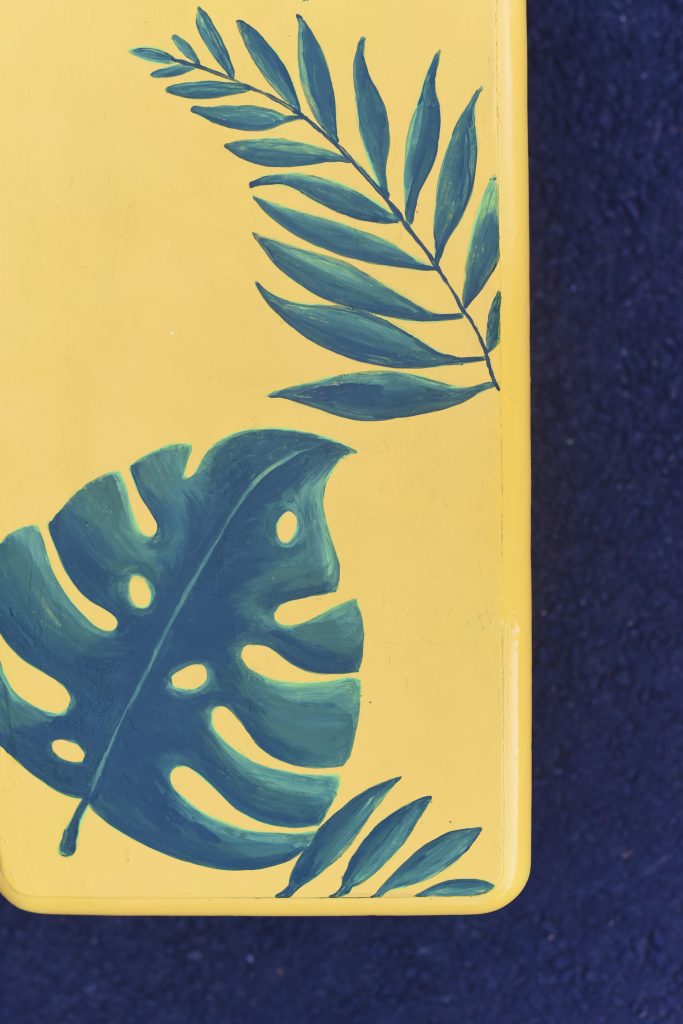
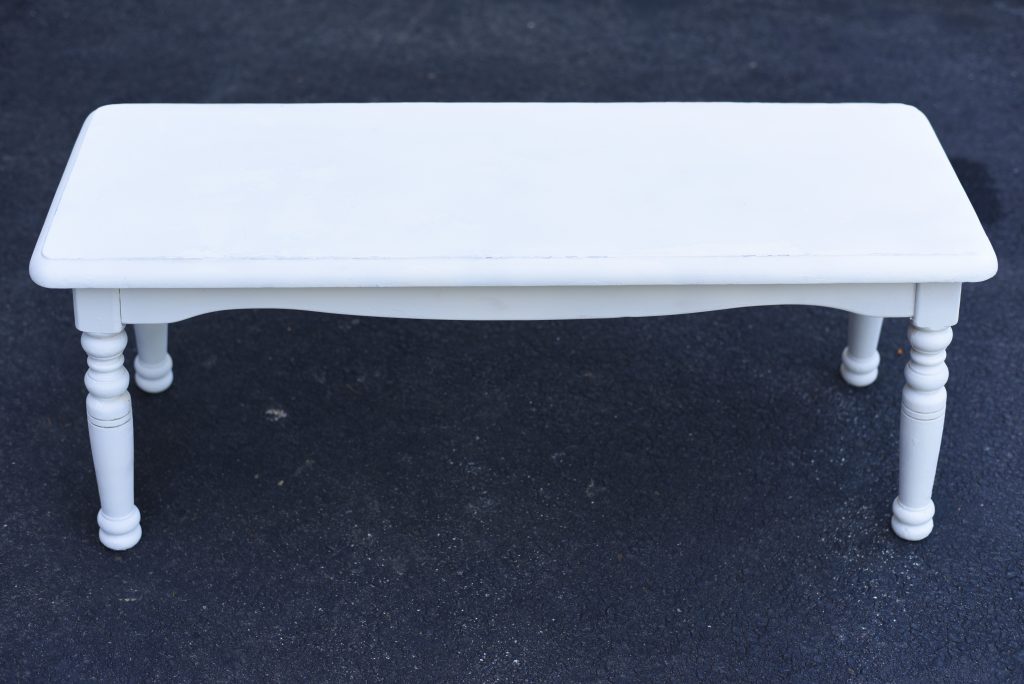
Seen a beautiful garden bench in a boutique store or some big box store and thought it would look lovely in your front/back yard? Your heart wanted to purchase it but somehow your wallet rejected the idea? I feel the pain since I was in the same boat. I thought of designing my own garden bench by painting tropical leaves on it. If you are too scared to paint free-hand, use stencils 😊
I began my mission by picking up an old bench for free from a Garage Sale and buying paint from Home Depot. I included my partner in crime, Mr. Husband in my mission. Dear hubby needed a little convincing 😝 but he fell for the trap.
I can tell you this, painting a garden bench is super easy and cheap. I was able to upgrade the bench in less than $20, cha-ching!💰.
What you need?
- Sandpaper
- Primer
- Spray Paint (color of your choice) or Regular Wood Paint
- Stencil
- Small Paint Roller on Sponge (you can get this at Dollar Store or Walmart)
- Acrylic Paint (you can get these at Dollar Store or Walmart)
- Crystal Clear Gloss Sealant Spray Paint
How to paint a Garden Bench?
Step 1: Clean & Sand the Bench
Clean your bench well with a damp cloth and let it dry. This will help in removing any dirt, mold or stickiness from the bench.
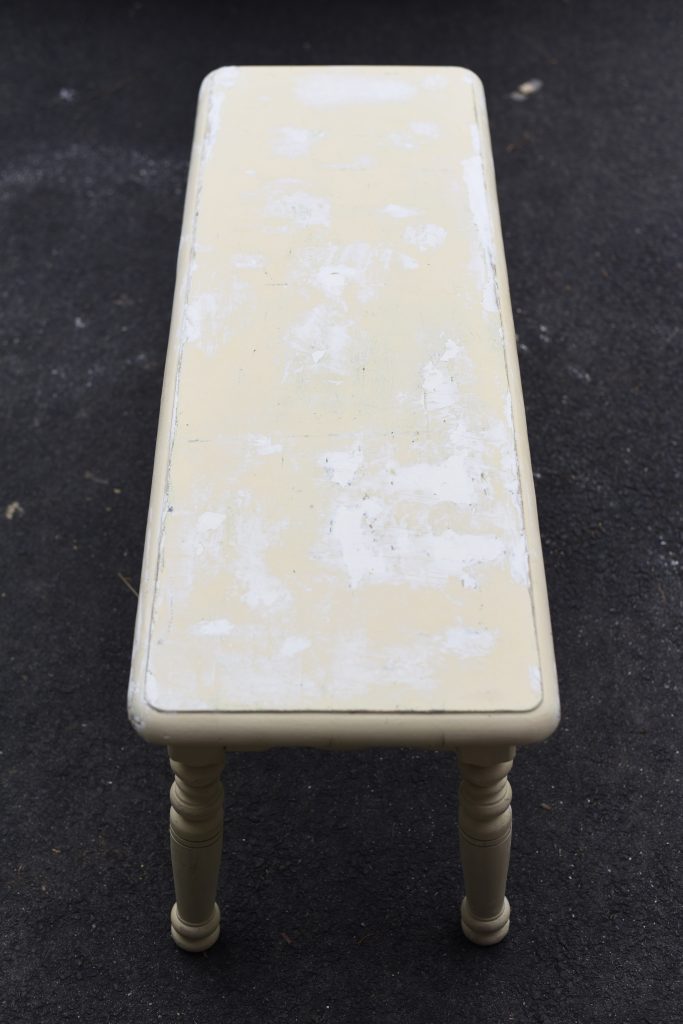
Once cleaned, use sandpaper to scrub the surface and legs of the bench to make them smooth and even. It also helps in scrapping any layers of paint you have on the wood.
Optional – After sanding, apply painter’s putty on the bench to fill out any holes or broken edges and let it dry for a day. Scrub the bench next day with a sandpaper again to even out the area where putty was applied.
Step 2: Apply Primer and Paint your Garden Bench
Before you start painting, apply the primer on the bench and let it dry for 2 hours. Ensure the Primer is applied evenly on the bench top (flat), sides and legs. Priming ensures better adhesion of paint to the surface, increases paint durability, and provides additional protection for the material being painted.
Now, once the primer has dried out, paint the garden bench with the color of your choice. I wanted the bench to pop hence painted it yellow.

Tip: Apply at-least 2 coatings of paint to ensure the bench is evenly painted and keep 8 hours of gap between each coat which gives the paint enough time to dry out.
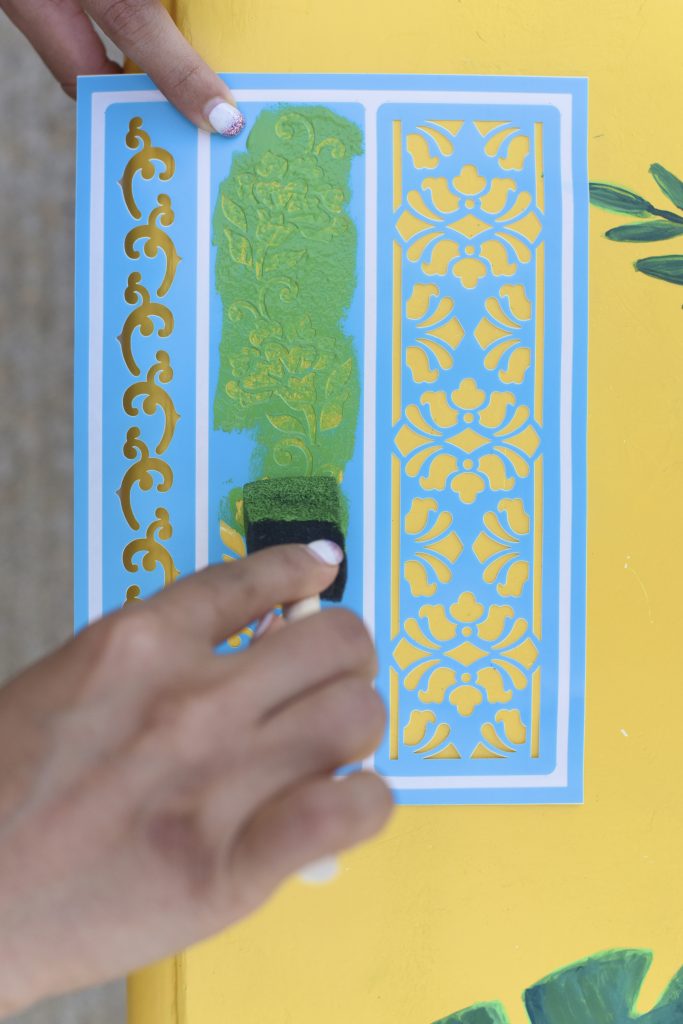
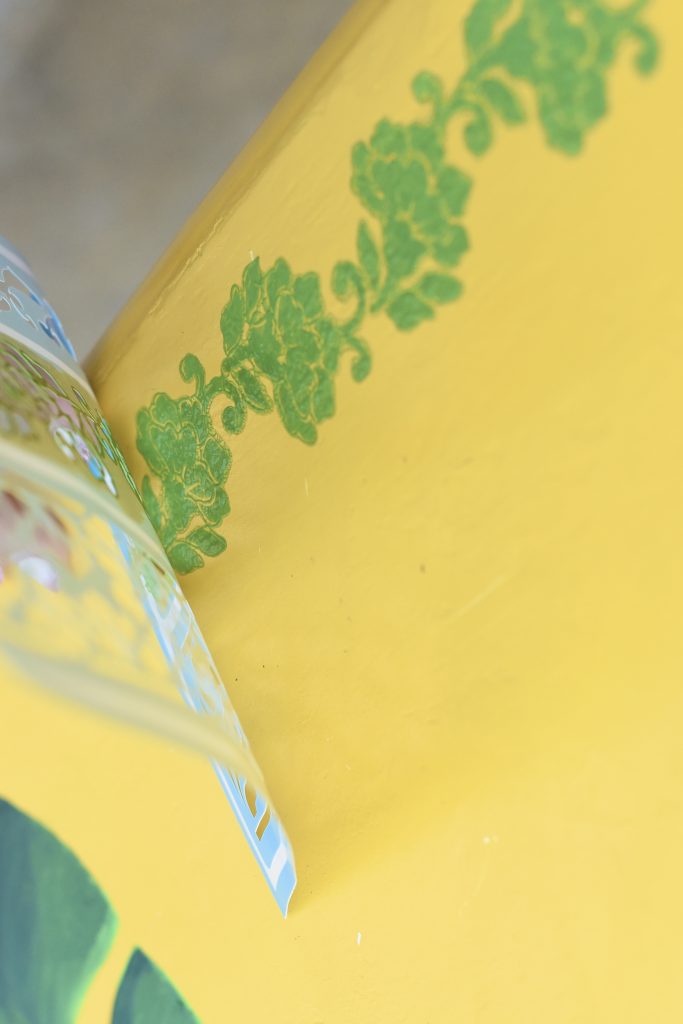
Step 3: Add that Jazz to your Garden Bench
This is an optional step if you would like to convert this beautiful piece of art into a masterpiece 😊.
After your paint has completely dried off, you can either use stencils or draw freehand to add design on the top (flat) part of the bench. I prefer freehand because it gives me the option to draw my own personalized design.
Stencil Instructions:
- Add the desired color on a color palette and roll the small paint roller properly on the palette, so the roller can absorb the color evenly.
- Place the design stencil on the flat surface of the bench and use the small paint roller to roll over the stencil’s design. This will transfer the design on the bench as the roller moves along the stencil.
- Remove the stencil very slowly and carefully else the acrylic paint might smudge.

Free-Hand Instructions:
- Use a pencil to draw your design on the flat surface of the bench. Please be careful to use a light hand with a pencil since you don’t want to scratch off the paint.
- Once you have traced your design, begin painting the garden bench using acrylic paints.
- Let the paint dry for at least 8 hours before proceeding to the next step.


Step 4: Seal the Deal
You can use the Gloss Sealant Spray Paint to add a coating of gloss that would help make the design water and dust resistant. It will make it easier to clean the bench.
Add at-least 2 coatings of the sealant spray and have a gap of 4 hours between each coat.
Tip: In case you plan to keep it out in the rain, blazing heat or snow, I would recommend to use a more weather resistant paints.
Check out these few more ideas on upgrading that old garden bench