Are you scouring the internet to find simple and easy to implement DIY ideas that can elevate the blank walls in your bedroom or living spaces?
Look no further because you’ve come to the right place.
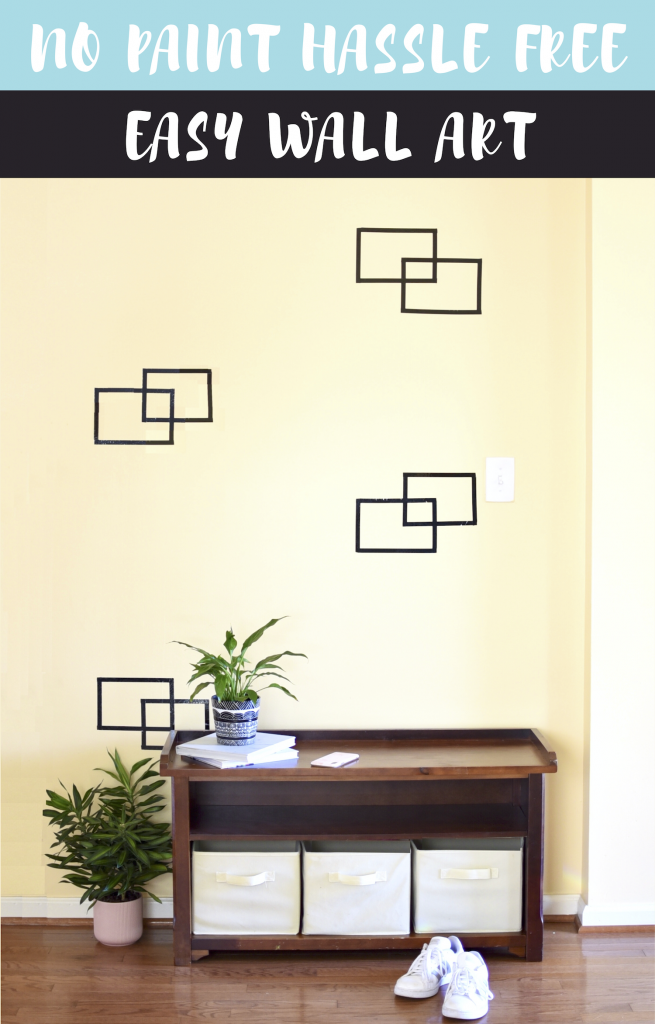
Follow the simple instructions below to make this Wall Art within 30 minutes. This easy DIY Wall Art is paint and hassle free as well.
If you live in a rented apartment like me, this project is for you. You don’t have to worry about damaging the paint on the wall.
DIY on a budget alert! This is an under $10 DIY project.
What you need?
- Masking Tape/Washi Tape
- Paper
- Measuring Tape
- Pencil
- Scissors
You can click the items above to purchase them online.
How to make this Easy DIY Wall Art?
Step 1: Trace rectangles on the wall using a pencil
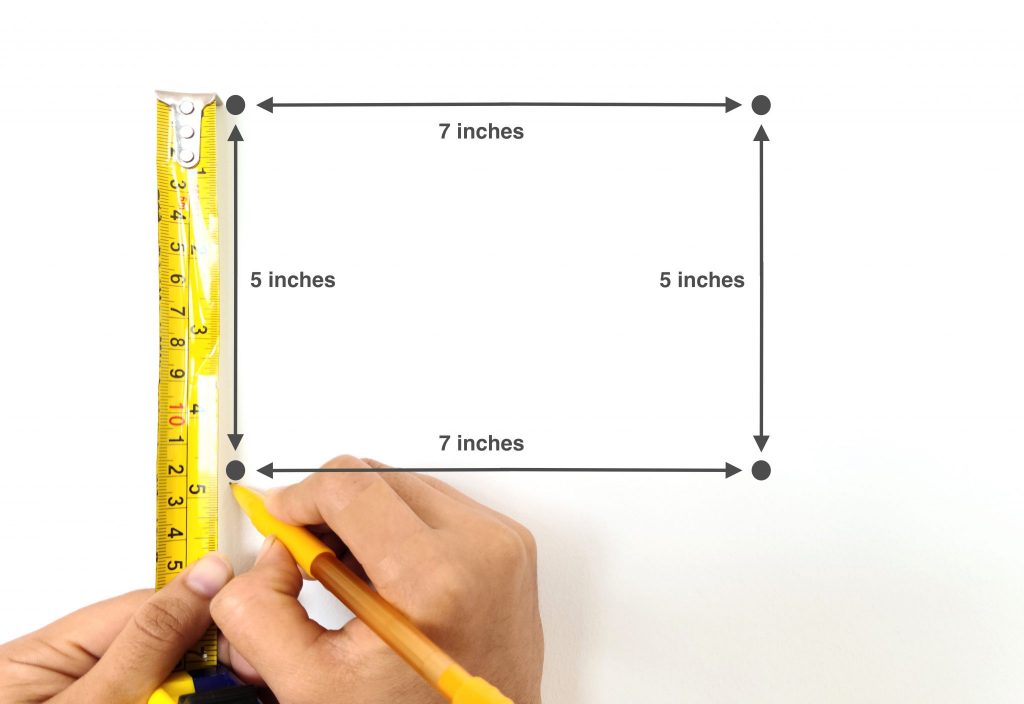
With the help of measuring tape or scale, mark the 4 corners of the first 7×5 rectangle. It needs to be 7 inches wide and 5 inches in height. Trace the complete draw rectangle on the wall using a pencil. Make sure to use a light hand as dark pencil marks are a little difficult to erase.
Measure 2.5 inches from the top right corner towards the top left corner and mark it. Now, measure 2.5 inches from the top right corner towards the bottom right corner and mark it.
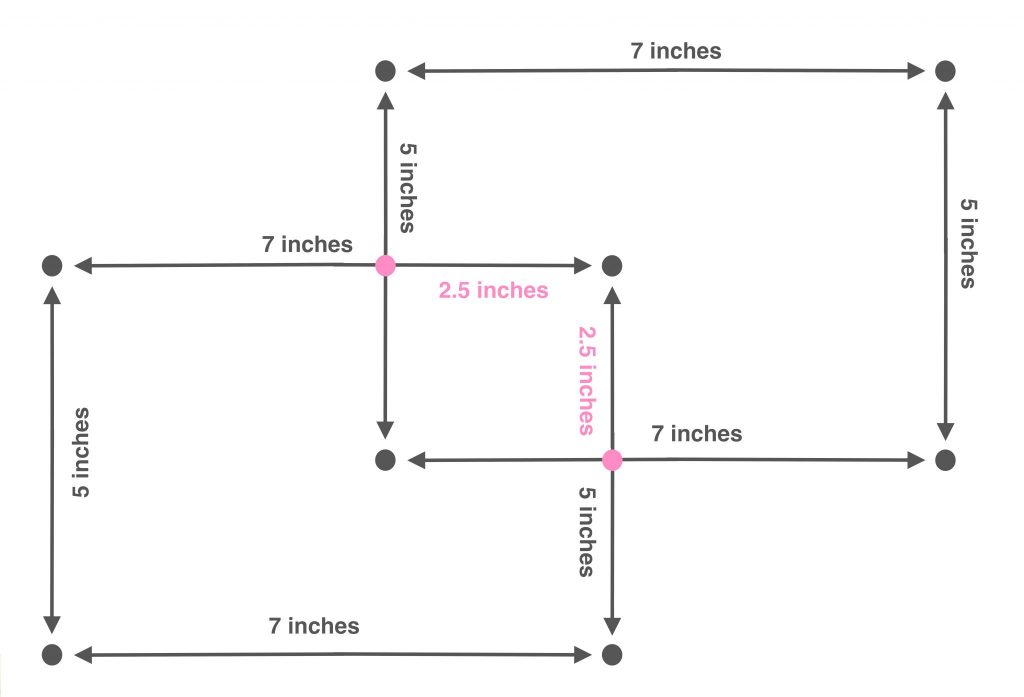
The intersection of the 2.5 inch dots becomes the bottom left corner of your second triangle. Measure (7×5) and mark the other 3 corners of the second rectangle.
Now, draw the second rectangle through the marked points.
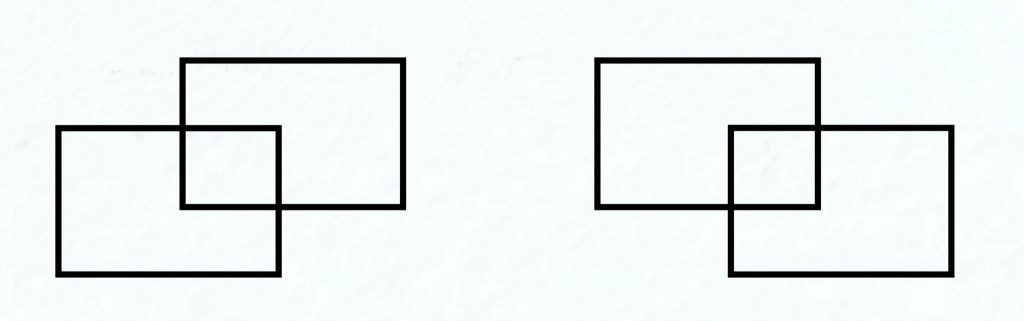
Trace 6 – 8 rectangle pairs to fill up your wall.
Tip: You can use the different rectangle pair variations like below for your Wall Art.
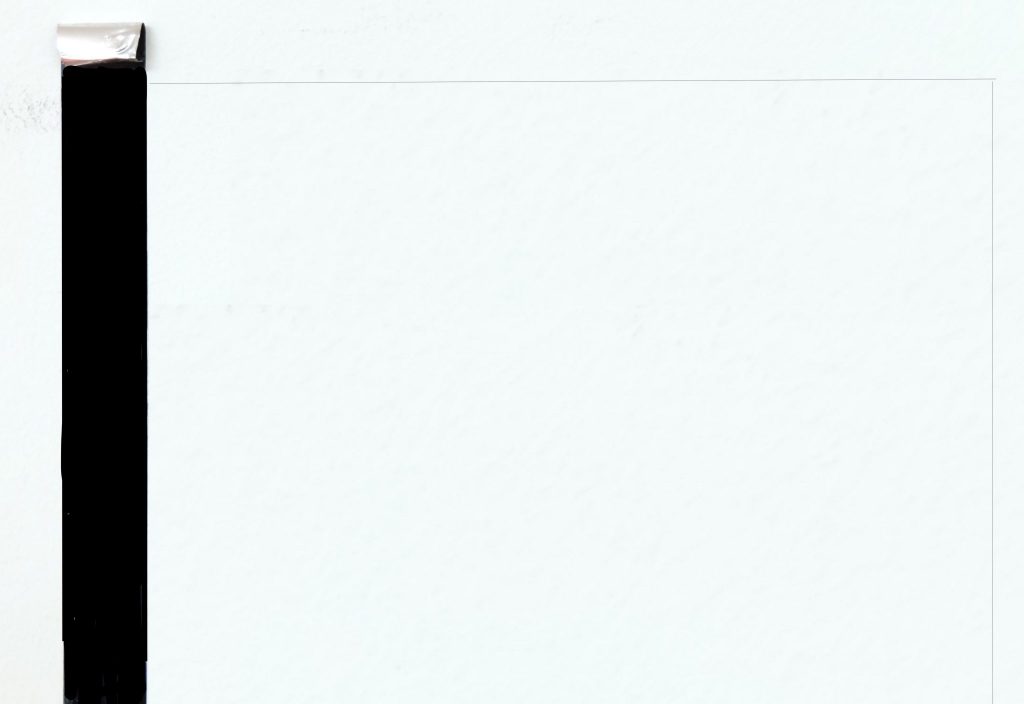
Step 2: Begin Taping
Begin sticking tape on the marked lower left rectangle. Leave an inch or two of the tape at the corners. Leaving an inch of tape at the edges makes it easier to cut.
When you are done sticking tape, cut the extra tape carefully using scissors.
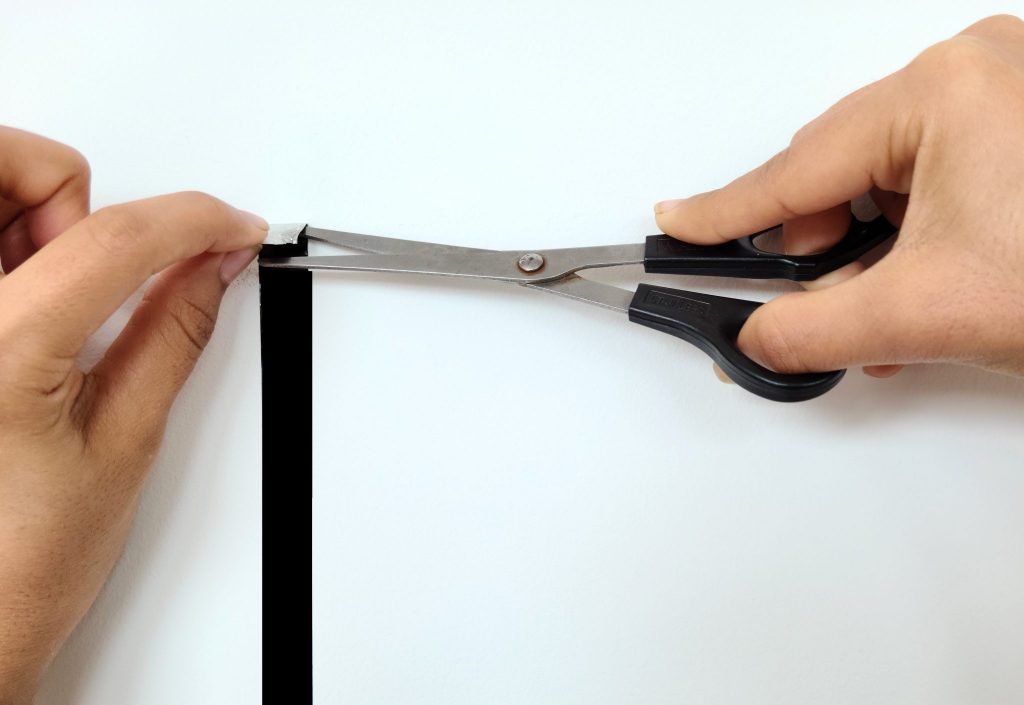
Now, begin sticking tape on your second rectangle. Remember to leave an inch or two of the tape at the edges and cut the extra tape when done.

Step 3: Run your fingers over the tape
Run your fingers over the tape to ensure it sticks well to the wall and does not come off.
Step 4: Clean up!
Clean the visible pencil lines using an eraser or a damp cloth.
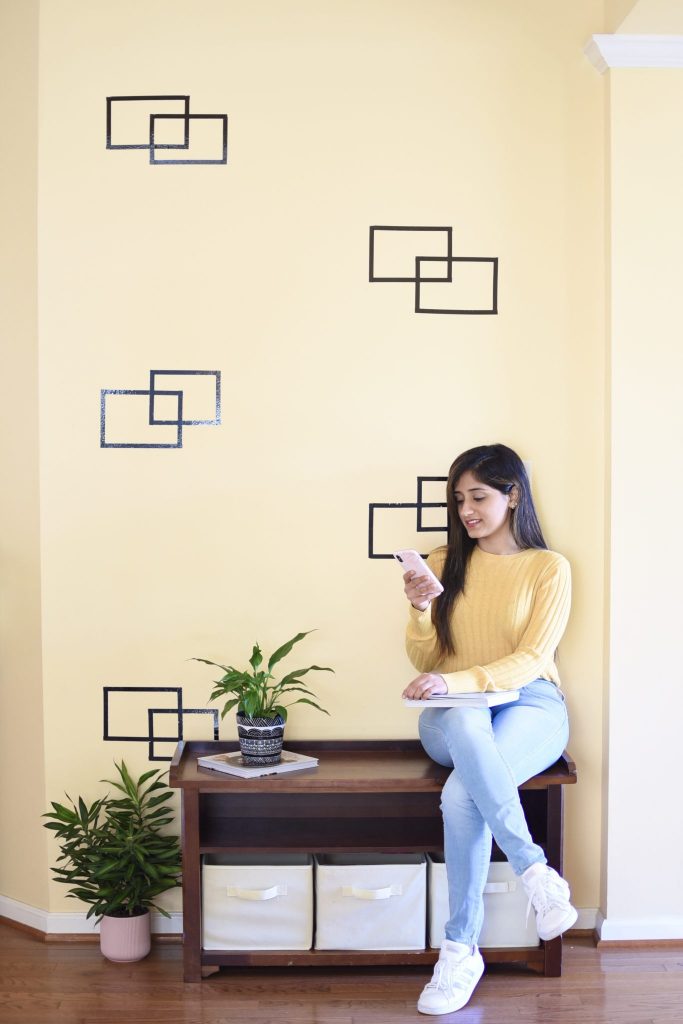
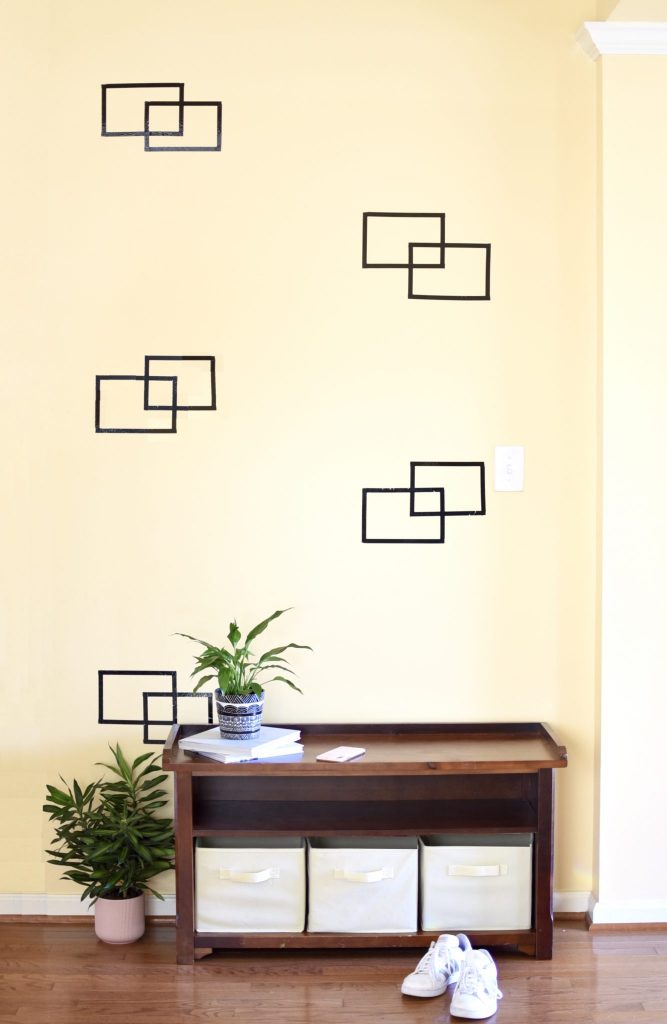
Your Easy DIY Wall Art is ready!
Click some pictures of your work and share with us in the comment section below 🙂
Feel confident in this simple and easy DIY Wall Art?
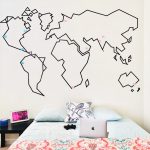
Try out our moderate level DIY World Map Wall Art to give your inner travel junkie a place to pin your adventures and memories!